Making A Chandelier Out Of Cardboard.
Sometimes I wish I didn't rent an apartment and actually owned something, if only to be able to hang up a beautiful chandelier! I am obsessed with them. I think they make any place look fantastic! One day I hope to have one in every room in my house! Until then, I have decided to make some low-cost, easy-to-hang- up chandeliers to use now instead of waiting for the future... This first one I tried, I saw on a blog on etsy.com (You can see their version here: http://www.etsy.com/blog/en/2012/how-tuesday-cardboard-chandelier/)
I have a few tips and tricks to make it easier, so here are my instructions:
1. Print the chandelier templates (below). Use an xacto knife and scissors when possible and a cutting mat to cut them out. I used thick cardboard, from a large box one of my neighbors was throwing out (a plus of apartment renting). It is much harder to cut than thin cardboard but it looks better when you are done because the chandelier stays straight and doesn't bulge or bend like with flimsy cardboard.

3. Cut out the entire two pieces. I used a metal ruler to do all the straight lines - way easier.

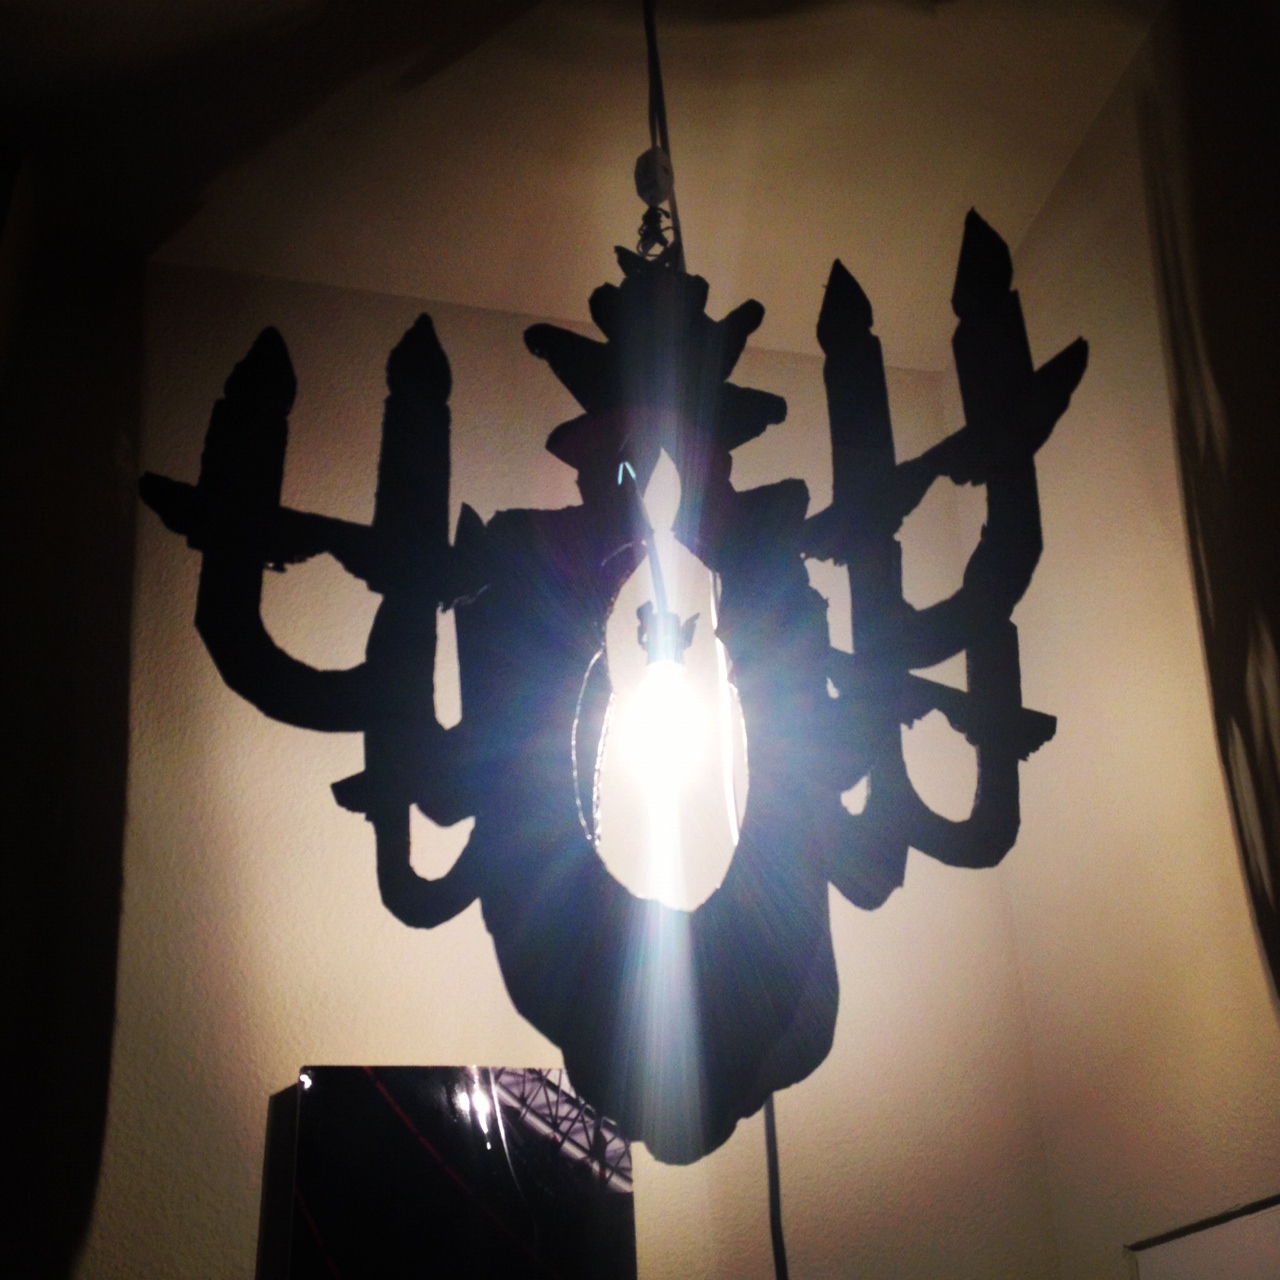
5. Slide the two pieces together where the slits are cut, aligning the pieces perpendicularly. Put in the candelabra base socket set (I got mine on amazon for cheap and free prime shipping). Make two holes with a hole punch at the top (easier than etsy's dowel and hammer - I don't have a dowel anyway). Cut a piece of floral wire with wire cutters or scissors and put through holes at top (I only did one top set of holes and it was enough and less ugly with too much wire) and also wrap it several times around the socket wire to hold it in place. Voila! Enjoy a chandelier for under $10!


4. Paint both sides and edges of the cardboard silhouettes with the foam brush. Let dry and paint one more coat. I also used spray paint afterwards because the sides of the thick pieces of cardboard are hard to get the brush into and I didn't want any brown to show. You might try using board that is already black if you don't mind buying it. Thicker would be better, maybe foamcore if the foam center is black too.

 |
| Diagram From Etsy |

TEMPLATES- click on these to make them larger - they should take up almost an entire 8.5" x 11" paper. Print 2 copies of each. Remember the base is the only part that detaches from the template and switches to the opposite slot cut between tracing the two pieces. (All these templates are from the etsy site but I put them here because many people had a hard time downloading them from there but I give full credit to etsy on this page: http://www.etsy.com/blog/en/2012/how-tuesday-cardboard-chandelier/)


