Tuesday, August 28, 2012

I FINALLY MET MY FASHION IDOL - BETSEY JOHNSON!!!


When I was in high school, my friend Queena took me to Melrose for the first time and introduced me to this amazing store - Betsey Johnson! As soon as I saw the hot pink shop and beautiful dresses, I was in LOVE! Back then (in 1990), they had a bargain box in the back where things were only $10-$40 dollars and since I was a sophomore in high school, that was the only spot I could afford to shop in for now. My first dress I bought was a hot pink crushed velvet dress. Here is a photo with me and two of my high school friends off for a night of dancing at the Palace for Richard Blade's KROQ night ( I am the blond on the right). 


Since then, I have been obsessed with Betsey Johnson! She makes the most uniquely creative, beautiful, design-inspired dresses that are perfect! Part goth, part girly, while understanding of a girl whose waist goes in but hips go out! :o) Her dresses fit me perfectly and I love that I can always buy the same size and expect the same great fit. She also uses my favorite colors a lot - black, red and hot pink (inspired my wedding colors)! Most things in my closet are now Betsey Johnson. I love her shoes (she now has comfortable boots and heels with quality leather and materials), I LOVE her jewelry, clothing, socks, tights, pajamas, and especially her dresses!! I get so many compliments on my clothes and now when friends say they like something, they don't  ask where I got it - they just say "Cute - It's Betsey?"  


 August 18, 2012....So I got to the Nordstrom at the Grove Mall in Los Angeles about 3.5 hours early. I didn't want to risk not getting to meet her. I met other fans, and since I had purchased the limited edition shoes the day before, I got into the VIP line. I was third in line. When she came out, I actually cried~! I was so happy and excited. I got to take a picture with her and she was sooooo nice. She actually talked to me for about a minute or two, even though soooo many people were waiting and there were a million people there. She thanked me three times for how dressed up I was (I was head to toe in Betsey Johnson from my cat ring to my socks and heels!). I told her I was so thankful to her and I love everything she does and I also thanked her for inspiring me to be myself. She was so gracious and kind and super cute! She looks great! She is so tiny - like 5 feet tall and I am tall so I had to crunch down for our photo! She was really sweet and I am so glad I got to go to this event. It is now crossed off my bucket list!


Micah Jesse revved up the crowd in his super cute hot pink blazer!


 Met Alicia Fox from the WWE, another fan!


One of Betsey's gorgeous models posed with me!


When I had heard her stores were all going out of business, I was so sad. I immediately went to one and bought out the store, well a portion of it. They ran out of bags so I had to just carry armloads of clothes. I never spent that much at once in a shop and felt a little guilty but I knew this was my last chance to stock up on clothes for the rest of my life! Here is a photo of that!


Over the next few weeks I went to several of the stores and bought some pieces I missed. I wanted a piece of furniture too but they were all sold out in every store. Luckily my husband diligently looked on craigslist until he happened upon the Betsey Johnson stylist selling not only the couch but also 5 chairs!!! He got it for me!! I was so surprised and excited!

Wednesday, July 11, 2012

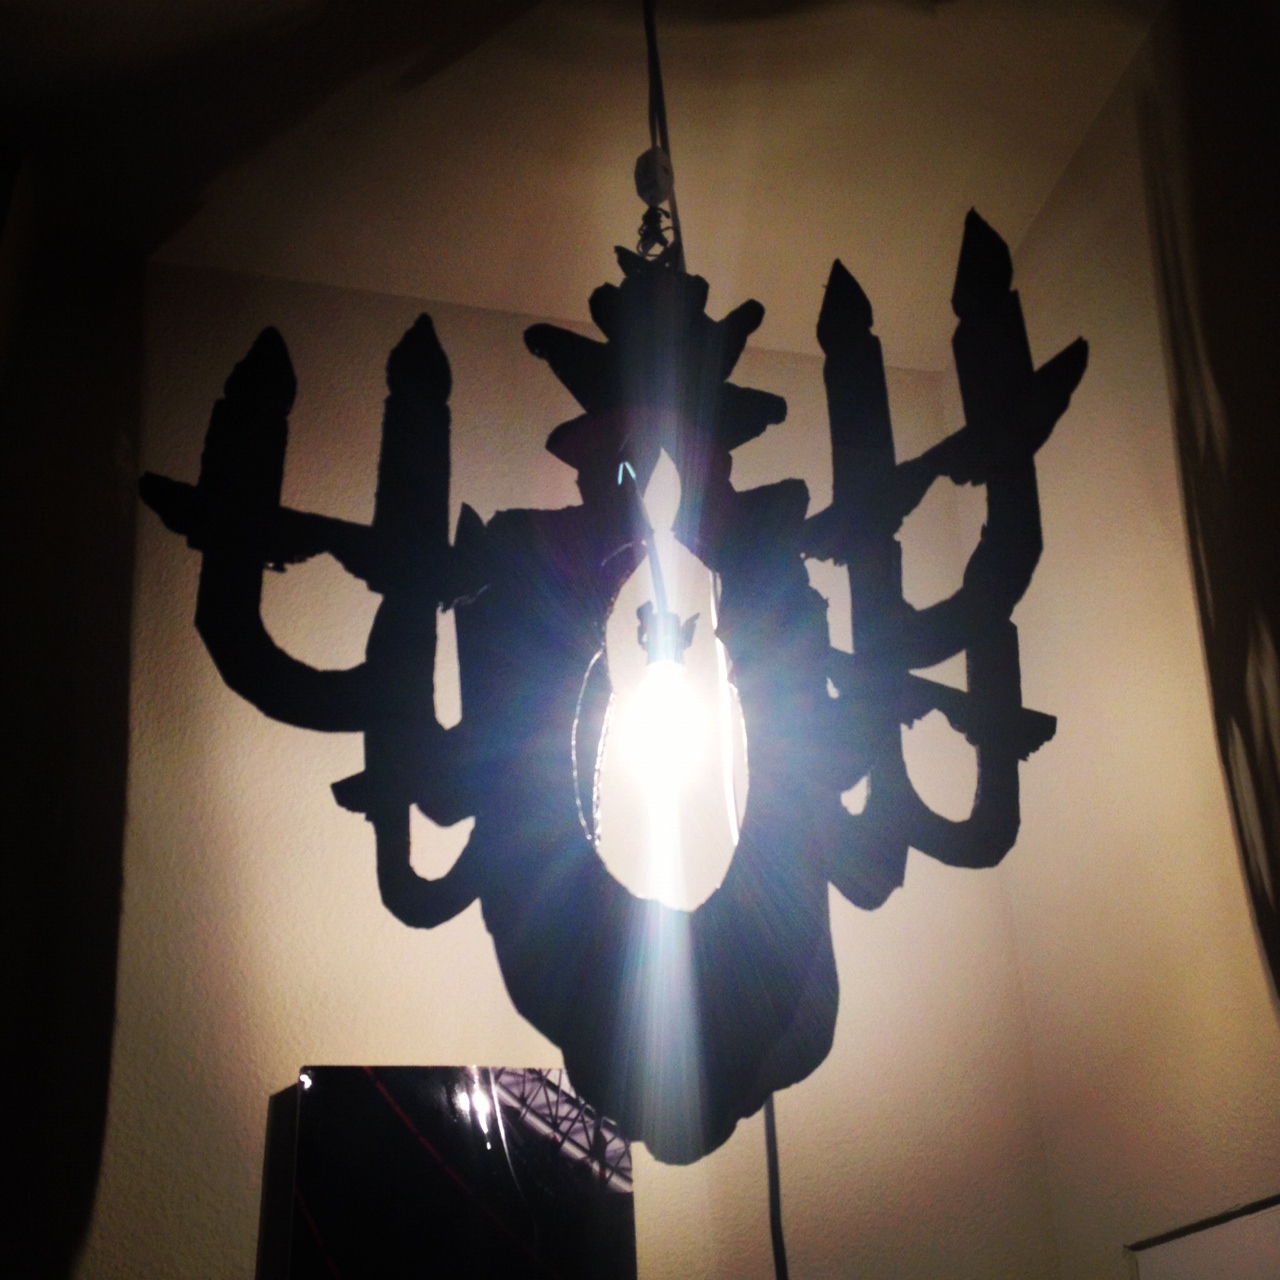
Making A Chandelier Out Of Cardboard.


Sometimes I wish I didn't rent an apartment and actually owned something, if only to be able to hang up a beautiful chandelier! I am obsessed with them. I think they make any place look fantastic! One day I hope to have one in every room in my house! Until then, I have decided to make some low-cost, easy-to-hang- up chandeliers to use now instead of waiting for the future... This first one I tried, I saw on a blog on etsy.com (You can see their version here: http://www.etsy.com/blog/en/2012/how-tuesday-cardboard-chandelier/)

I have a few tips and tricks to make it easier, so here are my instructions:

1. Print the chandelier templates (below). Use an xacto knife and scissors when possible and a cutting mat to cut them out. I used thick cardboard, from a large box one of my neighbors was throwing out (a plus of apartment renting). It is much harder to cut than thin cardboard but it looks better when you are done because the chandelier stays straight and doesn't bulge or bend like with flimsy cardboard.


2. One much easier thing that etsy didn't mention was it is much easier to make both sides of the chandelier template on paper, and then tape together, then tape them in place and use a pencil to trace around one whole side at once. They tell you to cut out one template, then just flip the template over for the mirror image, but the paper is super easy to cut with scissors and makes life way easier down the road - remember this chandelier has to line up EXACTLY so the slots go in. This helps. Then just replace the bottom portion for the second side. Then all 4 of your candle areas will be exactly the same.


3. Cut out the entire two pieces. I used a metal ruler to do all the straight lines - way easier.
4. Paint both sides and edges of the cardboard silhouettes with the foam brush. Let dry and paint one more coat. I also used spray paint afterwards because the sides of the thick pieces of cardboard are hard to get the brush into and I didn't want any brown to show. You might try using board that is already black if you don't mind buying it. Thicker would be better, maybe foamcore if the foam center is black too.

Diagram From Etsy
5. Slide the two pieces together where the slits are cut, aligning the pieces perpendicularly. Put in the candelabra base socket set (I got mine on amazon for cheap and free prime shipping). Make two holes with a hole punch at the top (easier than etsy's dowel and hammer - I don't have a dowel anyway). Cut a piece of floral wire with wire cutters or scissors and put through holes at top  (I only did one top set of holes and it was enough and less ugly with too much wire) and also wrap it several times around the socket wire to hold it in place. Voila! Enjoy a chandelier for under $10!

TEMPLATES- click on these to make them larger - they should take up almost an entire 8.5" x 11" paper. Print 2 copies of each. Remember the base is the only part that detaches from the template and switches to the opposite slot cut between tracing the two pieces. (All these templates are from the etsy site but I put them here because many people had a hard time downloading them from there but I give full credit to etsy on this page: http://www.etsy.com/blog/en/2012/how-tuesday-cardboard-chandelier/)


Monday, July 9, 2012

Cyanotypes at MOCA


I tried the Sunday Studio art class at MOCA Los Angeles last weekend. They have a tour of the exhibit and then a hands-on art project that compliments the exhibit for MOCA members. For the current show at the Geffen, LAND ART, we had an interesting tour followed by making cyanotypes. I hadn't made one since I was young so this was a fun project.

It has a few simple steps:
1. I chose some objects - tree needles, and crystals.
2. I made a drawing with dark black grease pencil (or sharpie marker) onto clear acetate.
3. I laid a glass panel down, then my sun print paper, then the needles and drawing, then the 2nd glass panel, and then the crystals on top (they won't blow away so heavy objects can go on top).

You can get sunprint paper here (http://www.amazon.com/TEDCO-Sun-Art-Paper-8x10/dp/B003JJBLC0/ref=sr_1_1?ie=UTF8&qid=1341858564&sr=8-1&keywords=cyanotype+paper)

4. Then I laid the whole thing in the sun for about 5-10 minutes. The longer you leave it, the darker you get.
5. Then I washed off the paper in a water bath and held to dry. I originally hung it up but I didn't want the paper to wrinkle so decided to carry it around with me when I went back into the museum.

I am going to have to get some paper myself and make more of these at home!

Here are some photos of my art piece...


Sunday, February 5, 2012

Photography from Downtown Los Angeles

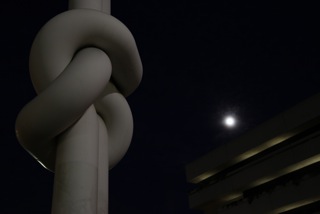
Tonight I went walking around downtown Los Angeles by where I live. It is Super Bowl sunday so I knew it would be a great opportunity to take along my camera since the streets would be deserted. I have been trying to work on a photography book, theme to be unveiled at the end of this year - my end goal date. Check out some of my shots from today....


Tuesday, January 17, 2012

Inspiration and Process for My New Branding for JenniferOgren.com


I have been contemplating changing my branding and I was recently inspired while I spent two weeks in Paris, France. I was in the Marché aux Puces St-Ouen de Clignancourt, the antique market. Among the gorgeous furniture pieces, vintage cameo jewelry, art deco silver dishes, and toys from yesteryear, I came across some amazing original letterpress letters in a little shop called Tombees Du Camion (http://tombeesducamion.com/), meaning "Goods Fallen Off the Back of a Truck". I spent about an hour picking out my favorites for each letter of my very long name. I just starting photographing them and will be updating my website and business cards soon. Here are some photos of my antique-market-escapade:


New look for www.JenniferOgren.com is coming soon!